This website uses cookies to ensure you get the best experience on our website.
Read more
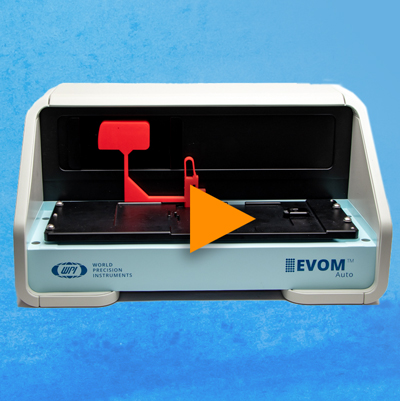
VIDEO: How to Install EVOM™ Auto Transwell Plate
October 31, 2023
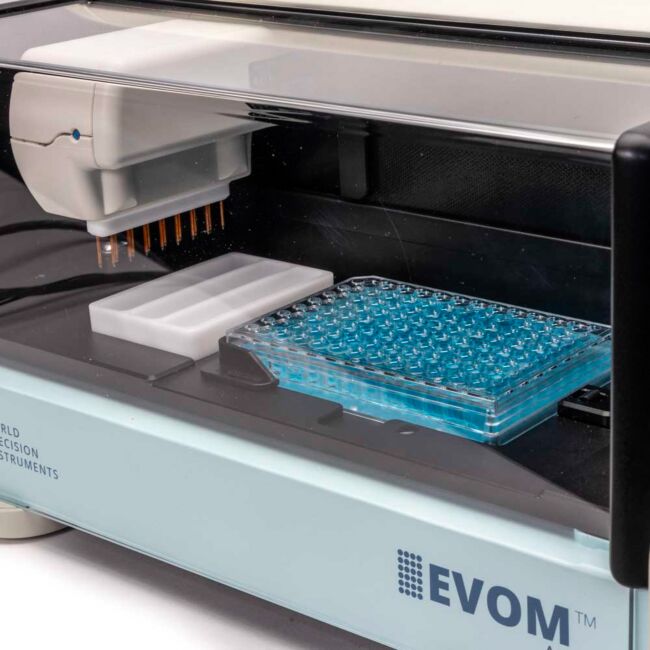
EVOM™ Auto: How to Install a Transwell Plate
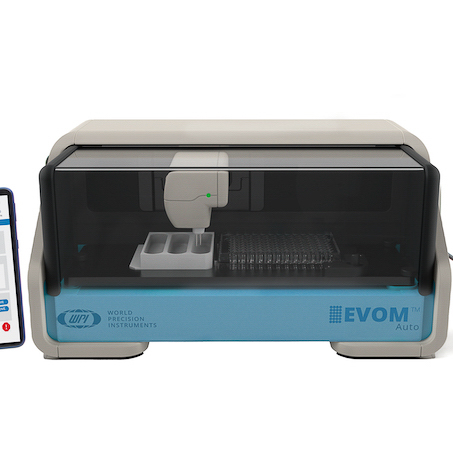
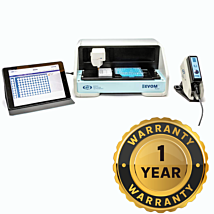
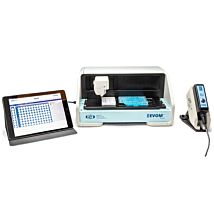
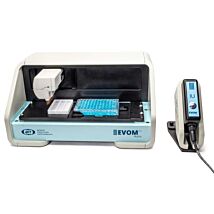
EVOM™ Auto High Throughput (HTS) Transepithiel Electrical Resistance (TEER) Measurement System with 24 and 96 transwell capability can switch between different 24 and 96 HTS transwell plates by using matching electrode arrays and plate positioner. Here we demonstrate how to install a well plate.
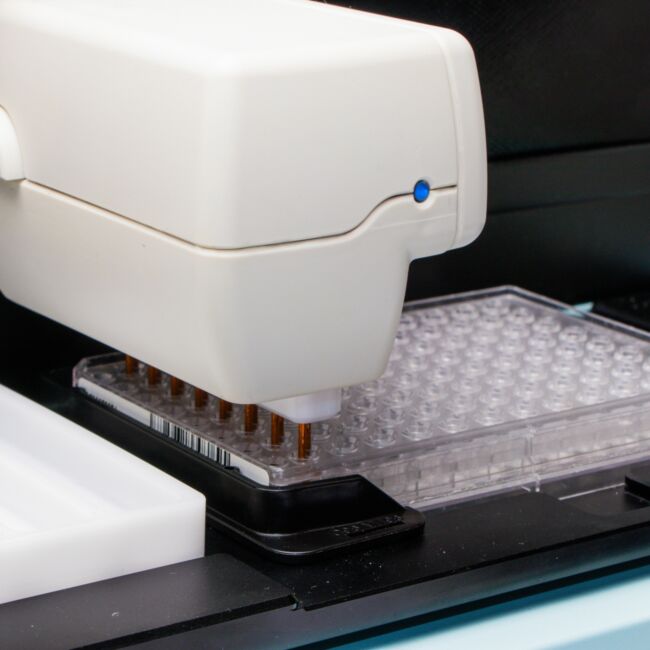
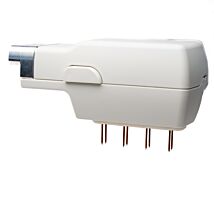
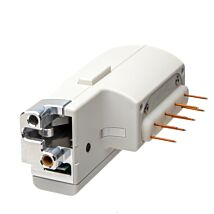
- Make sure the C24 electrode array is plugged in for Corning 24 HTS plate.
- Ensure the C24/M24 plate positioner is plugged into the plate measurement area. The same plate positioner is used for both Corning 24 or Millipore 24 HTS plates.
- Install a Corning 24 HTS plate in the plate measurement area. Position the A1 corner in the top of the plate positioner. Then pull the spring mechanism of plate handle from the other side and let the plate down gently from the other side. This needs to be done carefully to avoid liquid spillage.
NOTE: The plate may be installed after the system is powered ON and the proper autosampler-software device communication is established. - Next, power ON the interface unit. The light will be red on the electrode array when the interface unit is first powered on. After the communication is established between the software and the EVOM™ Auto system, this red light turns blue. It can take up to 5 minutes to establish communications.
Now the system is ready to analyze the Corning 24 HTS plate.
If you have an questions about your EVOM™ Auto, just give us a call at (866) 606-1974 or email us at [email protected].

Close


