This website uses cookies to ensure you get the best experience on our website.
Read more

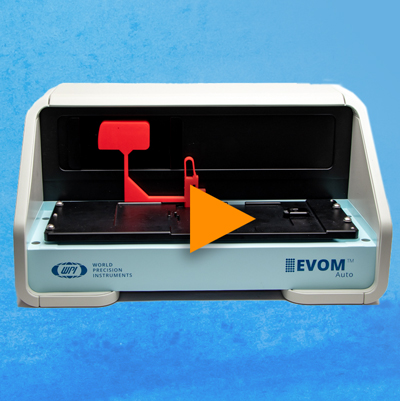
VIDEO: How to Switch EVOM Auto Electrode Array
October 24, 2023
EVOM™ Auto: How to Switch the Electrode Array
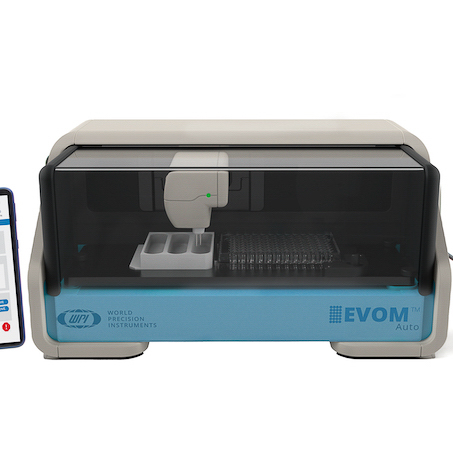
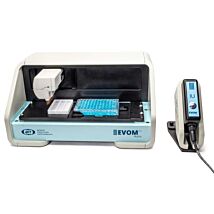
EVOM™ Auto High Throughput (HTS) Transepithiel Electrical Resistance (TEER) Measurement System with 24 and 96 transwell capability can switch between different 24 and 96 HTS well plates by using matching electrode arrays and plate positioners. Here we demonstrate how to switch to a 24 transwell plate after using a 96 transwell plate.
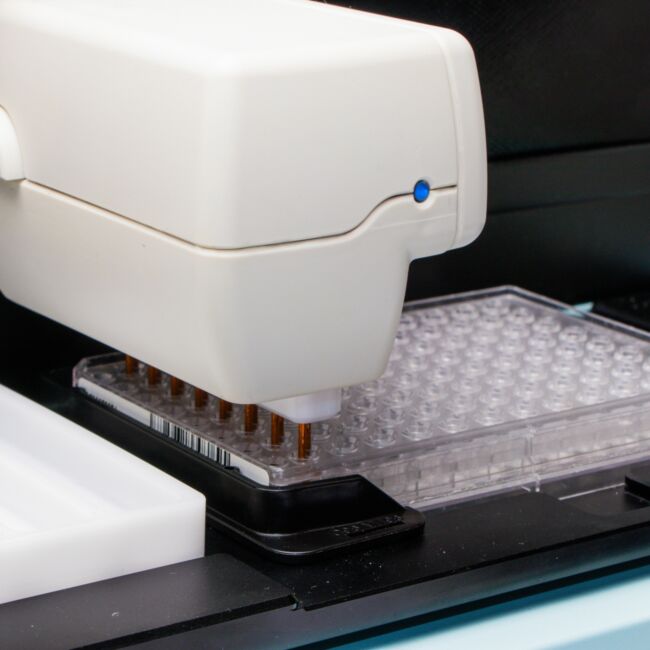
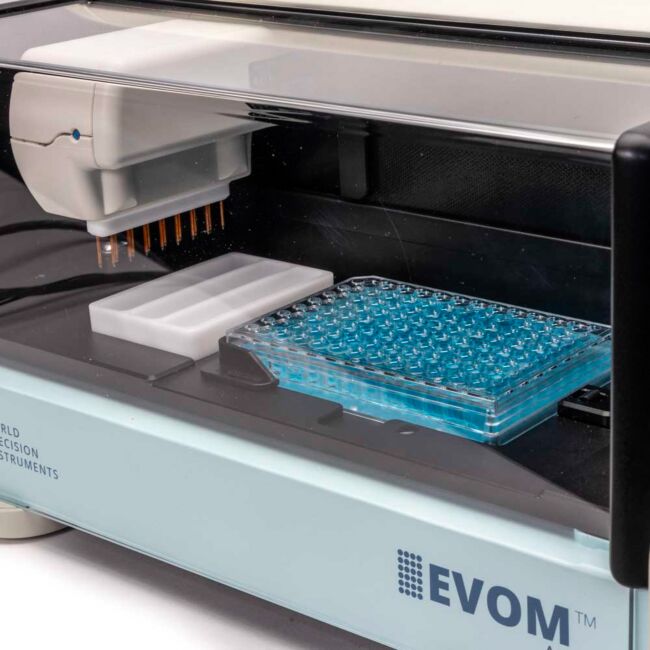
- Here we have a 96 transwell plate in the EVOM™ Auto’s measurement plate area. Remove the plate before removing electrode array.
- To take the well plate out, first pull the spring mechanism of plate handle.
- Lift the well plate from one side and pull the well plate out of the base gently.
NOTE: Be careful to avoid liquid spillage.
- Remove the 96-electrode array.
- Next, remove the plate positioner for the well plate by pulling it out of the slot. This part is flexible. Push the plate positioner sideways or inwards so that it disengages from the slot and then pull it out of the slot.
- Now plug in the plate positioner for Corning 24/Millipore 24. Press this part inwards so that it can fit into the slot.
- Identify the slot in the base and plug the plate positioner in.
- Next, attach the C24 electrode array to use the system with Corning 24 HTS plates.
- Hold the unit with one hand to keep it stable while the electrode array is being inserted into the slot. A clicking noise is heard when the electrode is properly pushed in the slot. The side button on the electrode array can be seen extending out when electrode array is being fully engaged position in the slot. Give it a little tug so the array comes out to the proper position.
You are now ready to install the new well plate and begin making measurements. If you have an questions about your EVOM™ Auto, just give us a call at (866) 606-1974 or email us at [email protected].
Related Articles
-
VIDEO: How to Create a Plate File on the EVOM™ Auto
 Apr 18
 -
VIDEO: How to Stabilize the Electrode Array on the EVOM™ Auto
 Apr 25
 -
VIDEO: EVOM™ Auto, Introducing the Experiment Screen
 May 02
 -
VIDEO: How to Download and Delete a Data File on the EVOM™ Auto
 Apr 13
 -
VIDEO: How to Schedule an Operation on the EVOM™ Auto
 Apr 27
 -
VIDEO: How to Chloride the Electrode Array on the EVOM™ Auto
 Apr 20
 -
VIDEO: How to Run an Experiment on the EVOM™ Auto
 Apr 11
 -
VIDEO: Introducing the EVOM™ Auto Home Screen
 Apr 06
 -
VIDEO: How to set up the EVOM Auto TEER Measurement System
 Mar 03
 -
VIDEO: How to Install EVOM™ Auto Transwell Plate
 Oct 31
Related Products
-
EVOM AUTO V3 for TEER Measurement In 24/96 HTS Plate-Premium Warranty
As low as $8,000.00EVOM Auto Electrode Array For TEER-Premium Warranty
As low as $800.00EVOM Auto Electrode Array For TEER
As low as $8,832.00EVOM™ AUTO for TEER Measurement In 24/96 HTS Plate
As low as $59,350.00


Recent Posts


Close