This website uses cookies to ensure you get the best experience on our website.
Read more

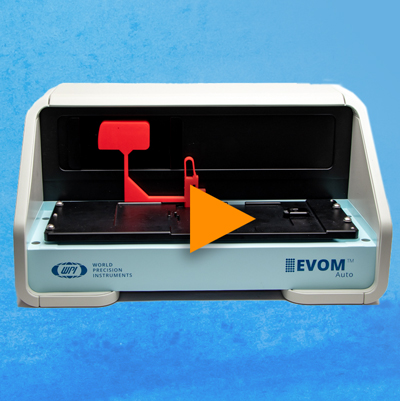
VIDEO: EVOM™ Auto, Introducing the Experiment Screen
May 02, 2023

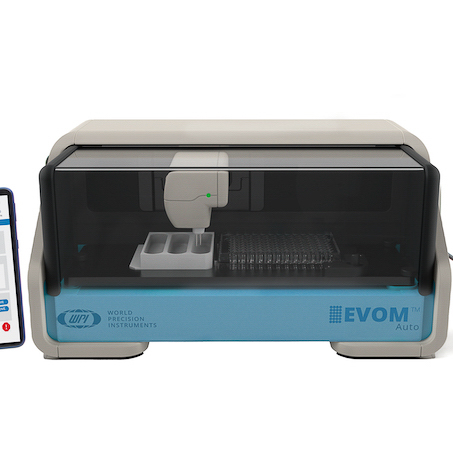
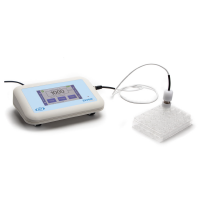
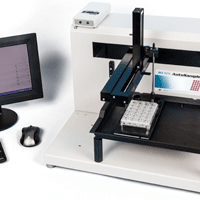
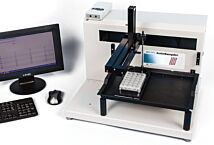
The EVOM™ Auto automates measurements of TEER in epithelial or endothelial monolayers cultured on high throughput screening 96-well plates utilizing our innovative EVOM™ technology, qualitatively measuring cell monolayer health and quantitatively measuring cell confluence by determining an increase or a plateau in tissue resistance.
The video below shows details the features and functions of the Experiment window on the EVOM™ Auto:
After you have defined a sequence, you can begin running an experiment.
The Experiment window shows a representation of the plate on the left side of the window.
On the right side of the window, you see these areas:
- Current State region shows the status of the AutoSampler and remaining time. Details area lets you set your plate name, choose a sequence, select your blank and make notes.
- Plate Controls area has all the buttons for controlling an experiment or scheduling and experiment.
- System Controls area has the buttons to manage the data files and the emergency shutoff for the AutoSampler

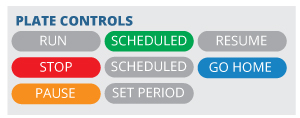
The buttons in the Plate Controls Area function as follows:
- Run – Starts the data acquisition sequence.
- Stop – Finishes the data collection on the present column and lifts the Electrode Array out of the well plate. The data acquisition is halted. The data can be saved, or the sequence may be restarted.
- Pause – Finishes the data collection on the present column and lifts the Electrode Array out of the well plate. Continue the data acquisition run by pressing the Resume button.
- Resume – Restarts the data collection at the point it left off when you pressed the Pause button.
- Go Home – This places the Electrode Array in the home position away from the well plate and rinse stations.
The buttons in the Schedule Controls area function as follows:
- Run – The green button starts the first scan. The time and cycle counters become active, decrementing until they reach zero, when the measurement stops. Every time a scan finishes, the data is saved, and the plate run number increments. When the scheduled operations are not being used, the counters are displayed in grey. When active the buttons are green.
- Stop – The red button stops the scheduler. The current scan will continue until you press the Stop button.
- Set Cycles – Brings up a popup to set the number of scans to be performed according to the current sequence.
- Set Period – Brings up a popup to set the length of time in between well plate scans.
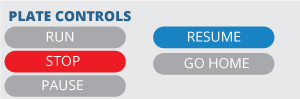
- In the Plate Controls area, available options are shown in color. If an option is not available, the button will be grey. For example, at the beginning of data acquisition, the Run and Go Home buttons will be the only valid options.
The System Controls area has five buttons as follows:

- Save – Saves the current data file. This option is not valid during data acquisition.
- Delete – Deletes the current data file. This option is not valid during data acquisition.
- Download – Downloads the current data file. This option is not valid during data acquisition.
- Back – Returns you to the previous window (Main page). If you press this during data acquisition, a popup asks if you wish to discard the collected data. Press Yes to discard the data and return to the previous window or Cancel to allow the data collection to finish normally.
- Stop – This emergency stop button is always active. If you press this button, the AutoSampler will immediately stop, no matter where it is in a sequence. All measurement will be suspended.
Related Articles
-
VIDEO: How to set up the EVOM Auto TEER Measurement System
 Mar 03
 -
What I Like About the EVOM Line
 Apr 20
 -
Significance of Transepithelial/ Transendothelial Electrical Resistance (TEER) Measurement in Lung In vitro Models
 Apr 13
 -
How To Select Electrodes For Making TEER Measurements
 Nov 28
 -
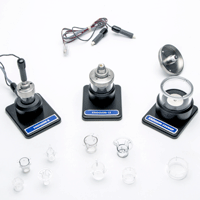
TEER Measurement in Individual Endothelial Cell Cultures Cups
 Oct 11
 -
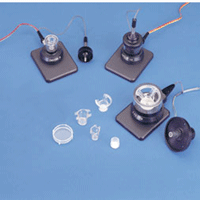
TEER Research: WPI's Manual and Robotic Systems
 Oct 11
 -
FAQs about TEER Measurement
 Feb 02
 -
Setting Up Your Automated TEER Measurement Robot
 Apr 14
 -
VIDEO: How to Run an Experiment on the EVOM™ Auto
 Apr 11
 -
VIDEO: Introducing the EVOM™ Auto Home Screen
 Apr 06
Related Products
-
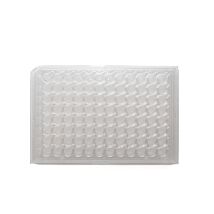
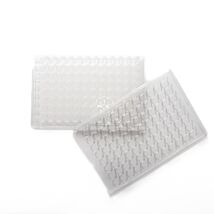
PermaCell Cell Culture Insert Plates, 96-well, PET, 0.4 µm
As low as $350.00
Recent Posts


Close