This website uses cookies to ensure you get the best experience on our website.
Read more

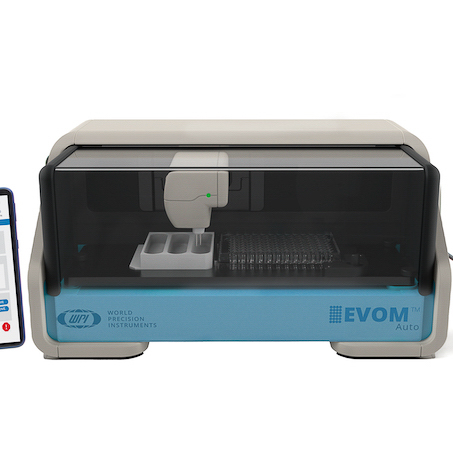
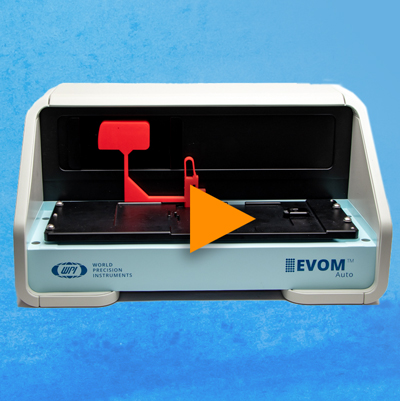
VIDEO: How to Create a Plate File on the EVOM™ Auto
April 18, 2023

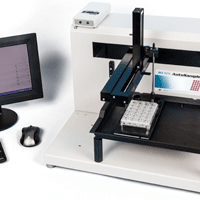
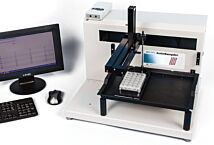
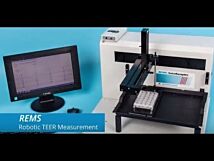
The EVOM™ Auto automates measurements of TEER in epithelial or endothelial monolayers cultured on high throughput screening 96-well plates utilizing our innovative EVOM™ technology, qualitatively measuring cell monolayer health and quantitatively measuring cell confluence by determining an increase or a plateau in tissue resistance.
The video below shows you how to create a plate file on the EVOM™ Auto:
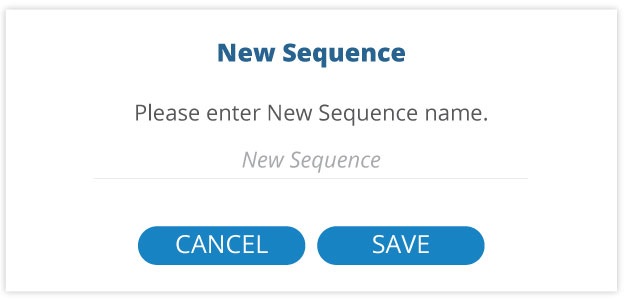
1. To Create a measurement sequence, select the Manage Sequence menu from the Home screen. A list of the existing sequences displays, and you may open and edit any existing sequence or select New Sequence to create a new one. If you select New Sequence, a popup allows you to name the sequence.
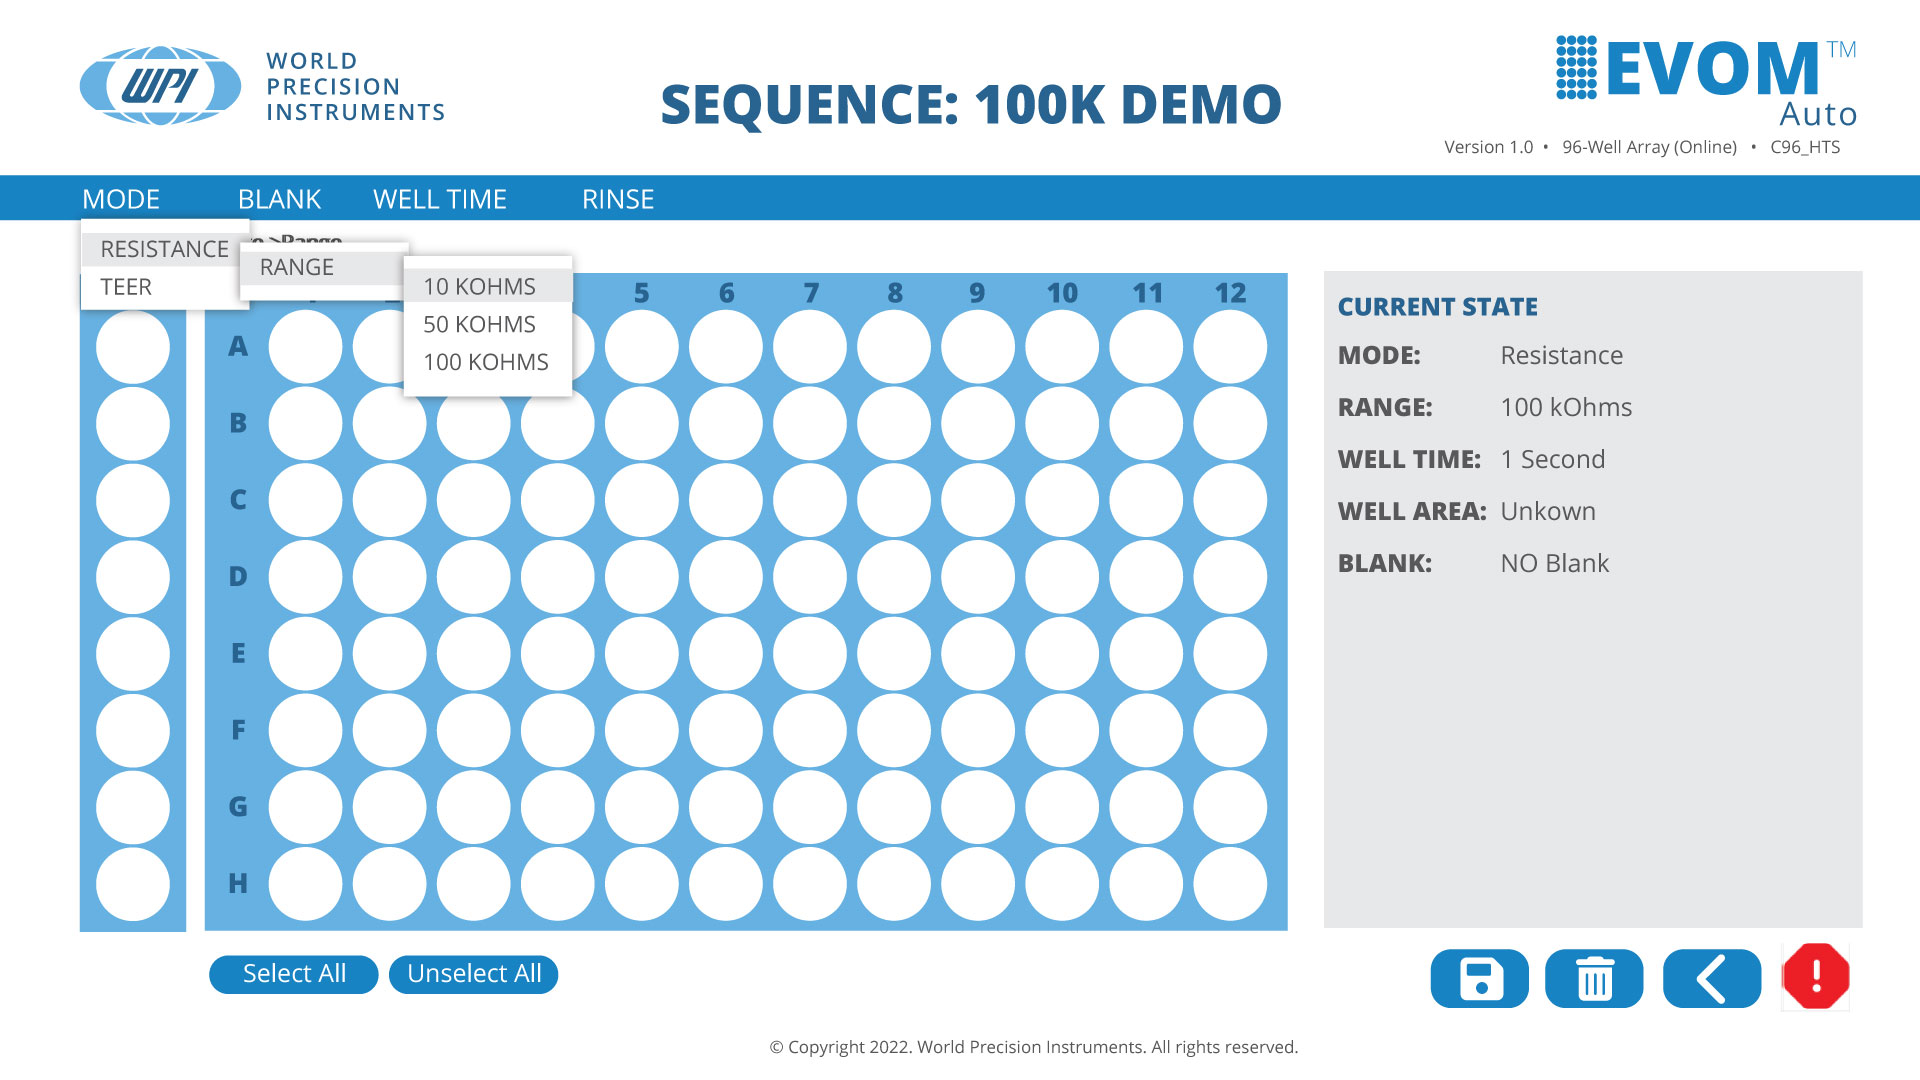
2. You may choose to display the measured resistance values or the TEER measurement. TEER is a calculated value based on the surface area of the well and the measured resistance.
Select the Mode menu. Options include Resistance and TEER.
When you select the Mode>Resistance>Range, you can choose the resistance range for making measurements:
- 10K Ohms
- 50K Ohms
- 100K Ohms
The Current State area on the right side of the window updates accordingly.
3. When you select the Mode>TEER, you may choose the resistance range and the well area. The well area defines the surface area of a well on your plate.
4. Select your blank option. This option measures the resistance of the first column (Wells A1, B1, C1...H1), and this value is used as a baseline for each row. Each value on the Blank Value table measures the resistance of the specific electrode pair used to measure each column on a well containing only buffer. The values 1-8 are subtracted from the measurements on the corresponding row to obtain the change from the baseline well.
![]()
5. To start the blank setup, select the Blank menu and choose Load Blank, and then New Blank to create a container for the blank baseline data.
![]()
After the sequence is saved, the container is created with a default value of zero. The blank name is updated on the Current State area.
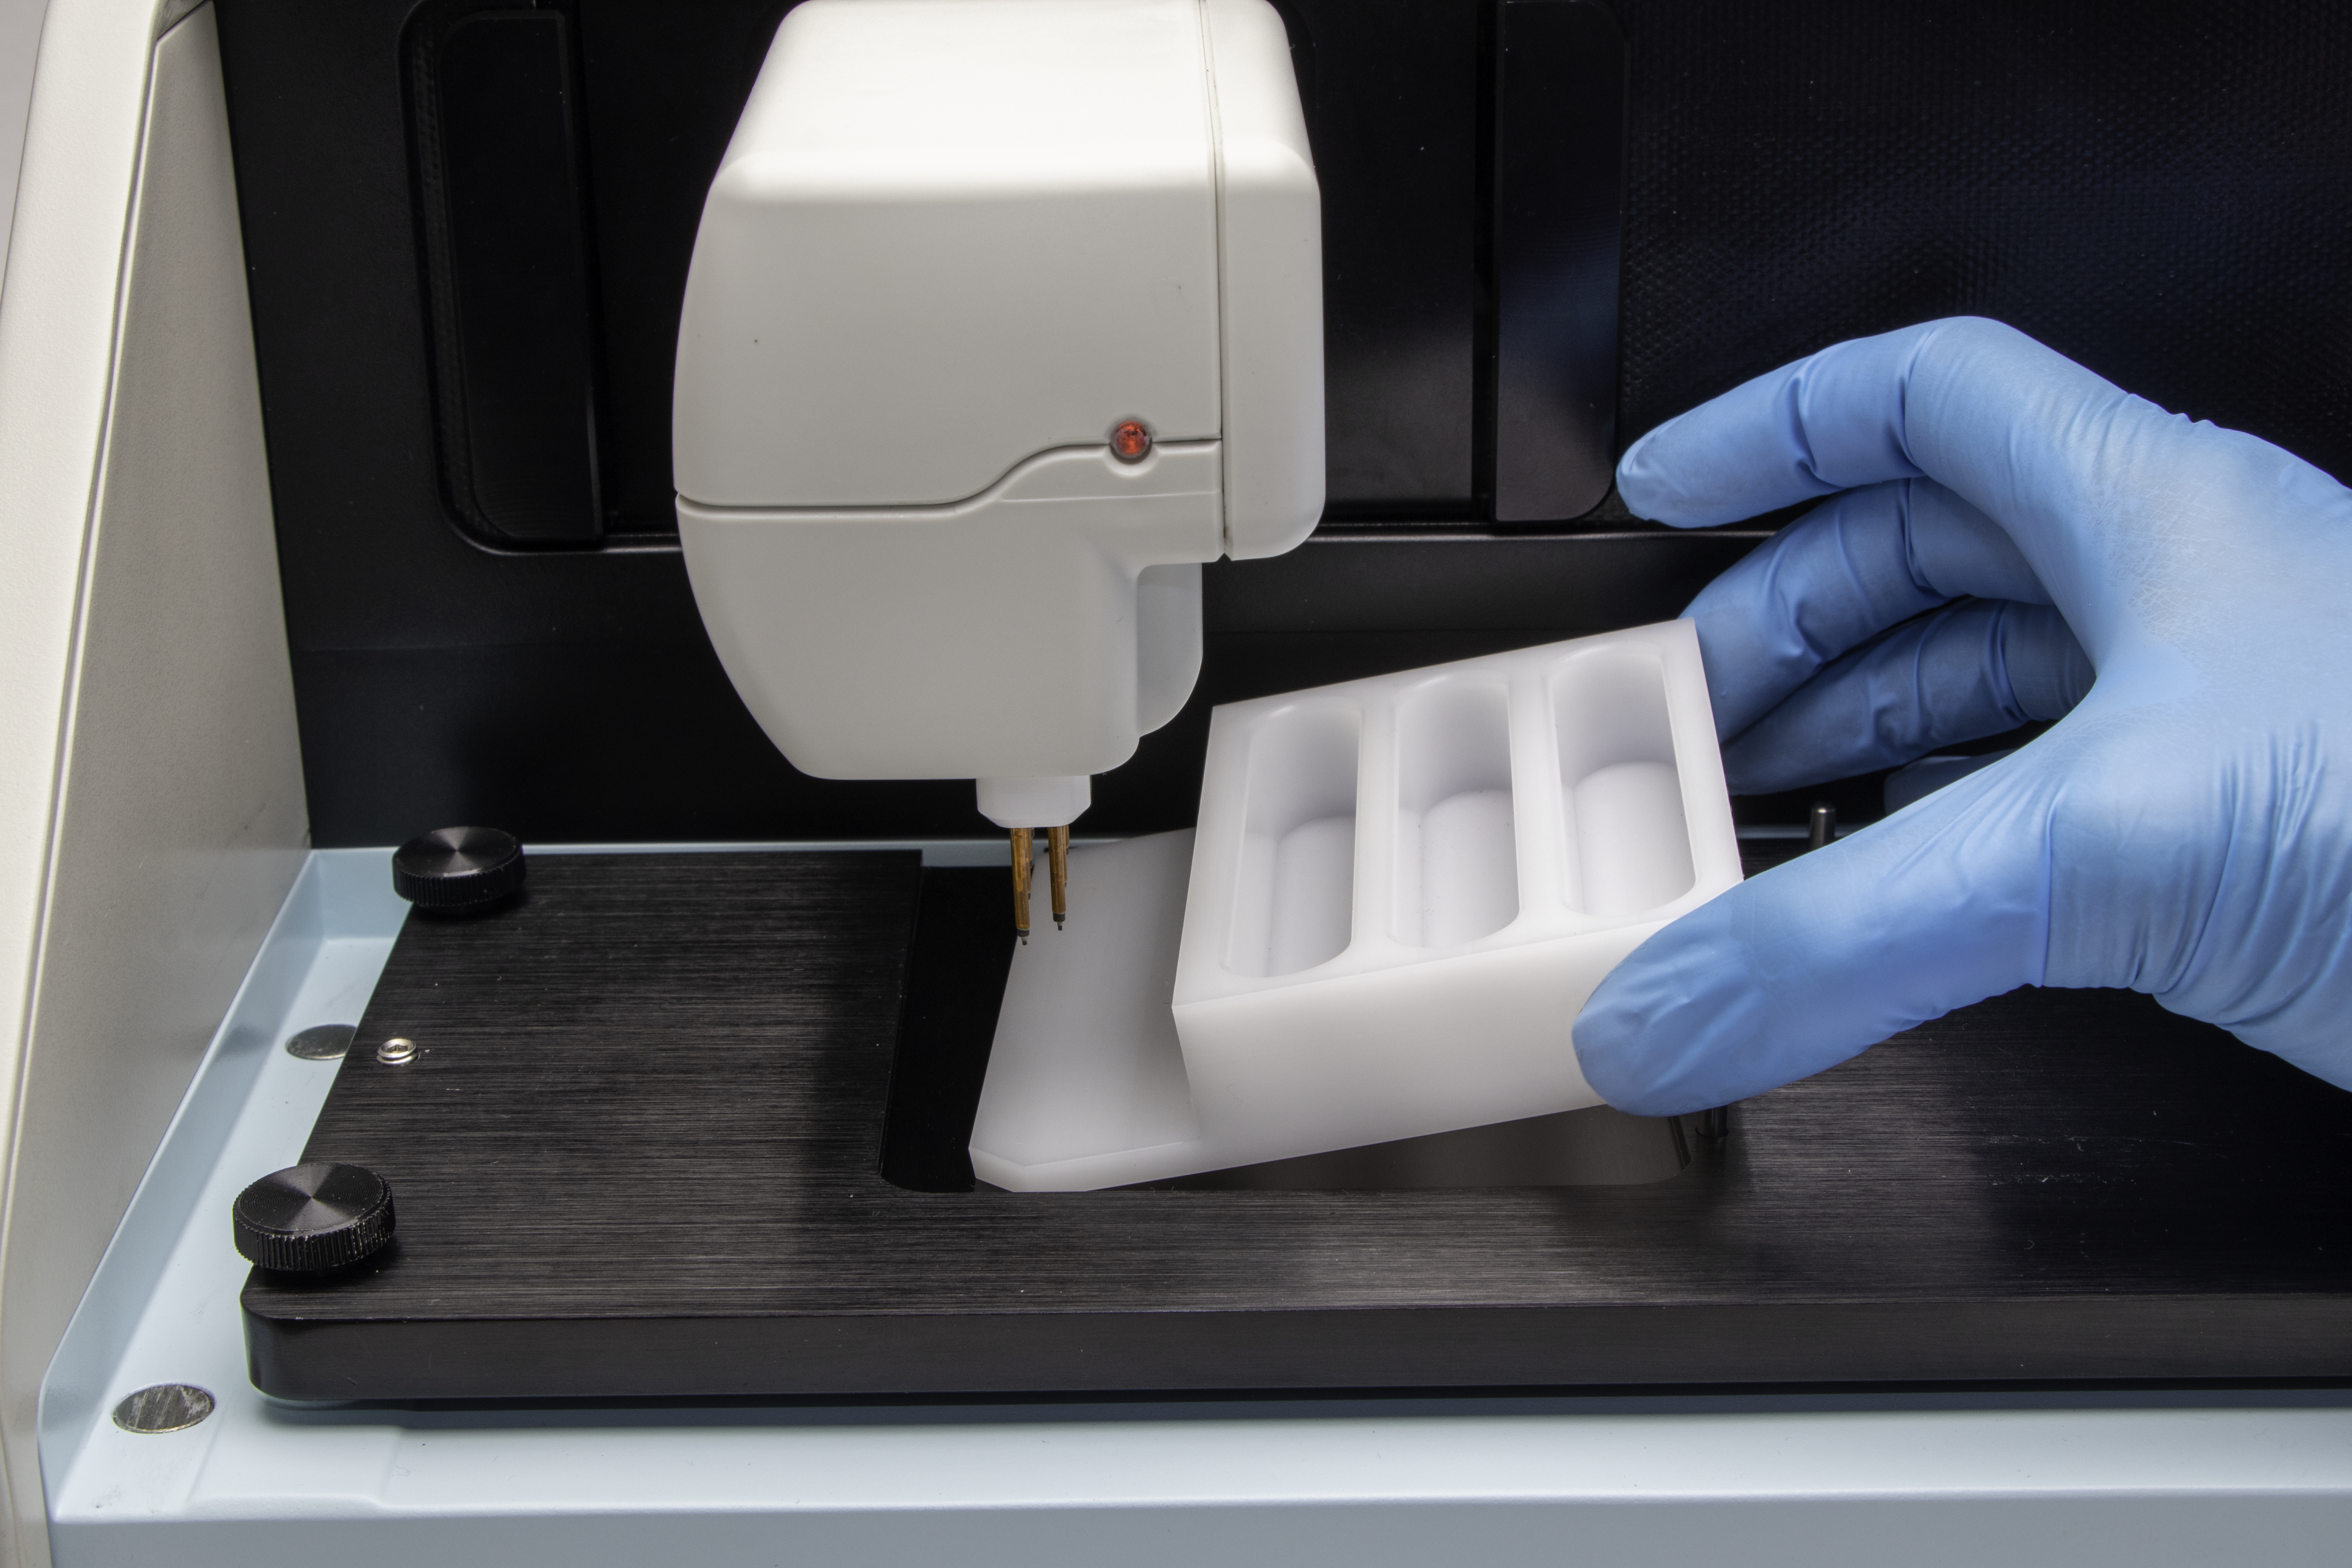
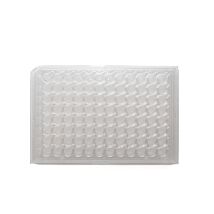
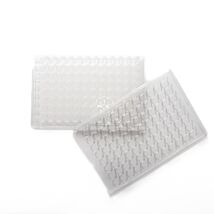
6. Next, load a well plate with media or buffer in the first column of wells and place it in the HTS Well Plate area on the Autosampler.
7. To measure the blanks and load that information into the blank container, select the Blank menu and choose Populate Blank.
![]()
The Autosampler then moves the electrode array to column 1 and measures all eight values. The values are shown in the Blank area on the window as they are populated.
After the measurement is complete, you may re-sample the blanks as many time as desired, now or in the future, by loading this container and running Populate Blank option again.
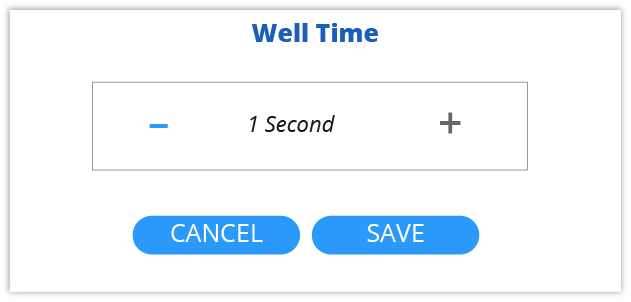
8. Set up the well time by selecting the Well Time menu. The well time is the number of seconds the electrodes are immersed in each well when taking measurements. Enter the desired time in seconds and press Save. The updated value displays on the Current State area of the window.
9. The three rinse stations may be used for rinsing, disinfecting, stabilizing or any other function desired. Configure the rinse schedule by selecting Rinse from the menu. You may set the rinse time and the wait time in each rine station using the toggle controls on each field. Three toggle buttons in the Rinse Options section on the right side of the window let you see when the rinse and wait parameters are implemented. You may choose any combination of these options.

10. After the schedule is set in the Rinse Time window, press Save to save the changes, and then return to the Sequence window.
11. Now that the sequence is defined, it can be used in a plate. Press the Back button to return to the Main window.
Related Articles
-
Setting Up Your Automated TEER Measurement Robot
 Apr 14
 -
FAQs about TEER Measurement
 Feb 02
 -
TEER Research: WPI's Manual and Robotic Systems
 Oct 11
 -
TEER Measurement in Individual Endothelial Cell Cultures Cups
 Oct 11
 -
How To Select Electrodes For Making TEER Measurements
 Nov 28
 -
Significance of Transepithelial/ Transendothelial Electrical Resistance (TEER) Measurement in Lung In vitro Models
 Apr 13
 -
What I Like About the EVOM Line
 Apr 20
 -
VIDEO: How to set up the EVOM Auto TEER Measurement System
 Mar 03
 -
VIDEO: Setting up the 3D SpectaSCOPE™ - Part 1
 Feb 23
 -
VIDEO: How to Run an Experiment on the EVOM™ Auto
 Apr 11
Related Products
-
PermaCell Cell Culture Insert Plates, 96-well, PET, 0.4 µm
As low as $350.00
Recent Posts


Close