This website uses cookies to ensure you get the best experience on our website.
Read more

VIDEO: How to use the EVOM™ AutoLCI Software
February 13, 2022

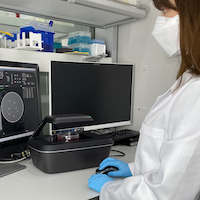
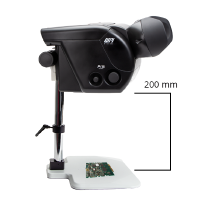
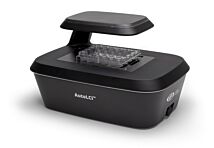
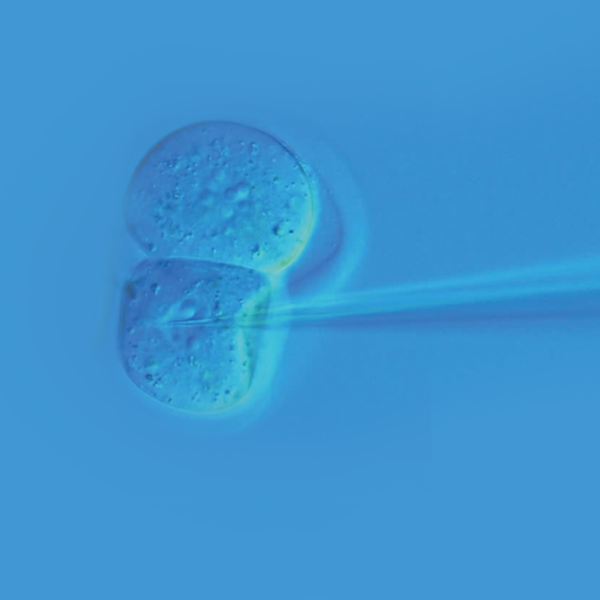
WPI'S EVOM™ AutoLCI is an automated live cell imaging system that is equipped with an advanced fluorescence and bright field microscopy, autofocusing and real time multi-position imaging technology. It provides you all the tools you need to acquire the best quality images and accurate research results. Various cell-based research work and applications can be done with this all-around system.
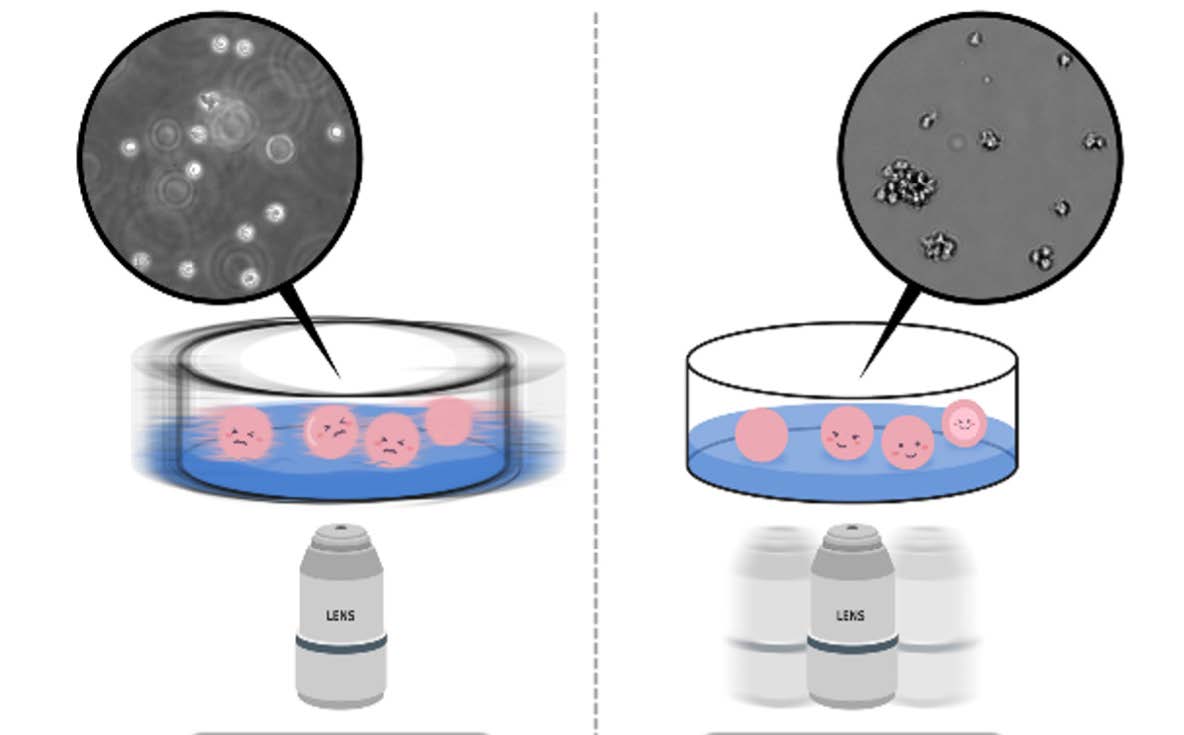
Importance of Live Cell Imaging
Starting with the discoveries of microscopes in the 16th centuries, there have been endless desires to peer into objects that cannot be seen by the naked eye. With the development of technology and the introduction of live cell imaging, it has transformed the way researchers study cells, tissues, proteins and other cellular interactions. Live cell imaging (LCI) has became a basic analytical tool in the study of life science. Compared to studying captured images of fixed cells, observing live cells in real time provides more reliable and relevant insights into cellular processes and changes.
EVOM™ AutoLCI App
- Open the app.
- Click the icon and press OK.
- Setup: Adjustment option of LCIPlus.
- Scan: Set schedule for scanning and time lapse imaging.
- Album: View captured images and make video.
- Analysis: Show cell confluency and make growth curve.
Control Panel Guide
Image Setup
- Click the Start Streaming button for a preview.
- Set the vessel type for live cell imaging.
- Custom (manual positioning)
- 6/12/24/48/96 well plate
- Dish 60mm/35mm
- Culture T25 Flask
- Set the imaging options.
- Select the file format: PNG/JPG/TIFF.
- Adjust the frame resolution (Normal or High).
- Check the details for imaging: autofocus, align image.
Focus Adjustment
- Click the well plate and the desired position of scannig from the Plate panel.
- Using the Jog or the Manual Position button to adjust the position.
- Once the position is set, press the Set Position button.
- Repeat the steps for other wells.
- If you want to set all wells, right click the well plate and click Set all center.
- Press Ctrl and left click on the mouse anywhere you want to set the position for multiple locations.
- You can export or import from the scan position table.
- You can check the focus of each well by clicking the well you want to check.
Auto-Focusing
- Set the range of auto focusing.
- Adjust the display using the AF panel: lamp power, brightness, contrast.
Scan Mode
Select Folder
- Click the Scan mode.
- Select the folder to save images.
Time Setup
- Set the interval time.
- Set the total time, then the total cycle and storage is automatically displayed.
- Click the Start button to begin live cell imaging.
Album Mode
- Click Album mode.
- Import the saved file from the folder on the right side.
Movie Maker
- Import images on the right side.
- Select the Preview button.
- Check the video rate (speed).
- Adjust the FPS (Frame Per Second).
- Save the video created.
- Time lapse imaging is completed.
Image Analysis
- Click the Analysis button.
- Analyze current image. Select Current image from the Source tab and click the Run button to check the confluency data video.
- Analyze local image. Select Local image from the Source tab. Import the saved image and click the Run button to check the confluency data.
- Analyze time-lapse image. Select Time-lapse images from the Source tab. Import the saved image and click the Run button to check the confluency data.
- To create a growth curve, click Data and Graph.
- Image analysis is completed.
If you have any questions, just give us a call at (866) 606-1974 (Toll free in the USA) or email us at [email protected].
Related Articles
-
VIDEO: EVOM™ AutoLCI - Configuring IP Settings
 Jul 13
 -
VIDEO: Setting up the 3D SpectaSCOPE™ - Part 1
 Feb 23
 -
APP NOTE: Using EVOM™ AutoLCI to Observe Morphological Changes and Phagocytic Activity in Macrophage Cell Line
 Feb 24
 -
APP NOTE: Analysis of Nocodazole-Induced Cytotoxicity Using EVOM™ AutoLCI
 Mar 01
 -
WPI's Low-Noise Amplifiers Outperform Cheap Imitations
 Apr 30
 -
APP NOTE: Observation of Mitosis using EVOM™ AutoLCI
 Mar 03
 -
VIDEO: How to Schedule an Operation on the EVOM™ Auto
 Apr 27
 -
VIDEO: EVOM™ Auto, Introducing the Experiment Screen
 May 02
 -
14011 Luer Valve Assortment Kit Pictures
 Apr 26
 -
VIDEO: How to Replace the STX4 Electrode Blades
 May 20
Related Products
- As low as $421.00
EVOM™ AutoLCI : EVOM™ Automated Live Cell Imaging system
As low as $22,220.00

Recent Posts


Close