This website uses cookies to ensure you get the best experience on our website.
Read more

VIDEO: How to Setup the WPI Manual Microsyringe Pump
September 27, 2021
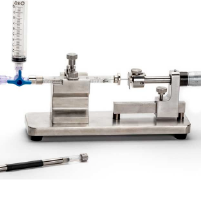
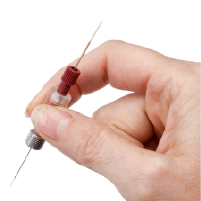
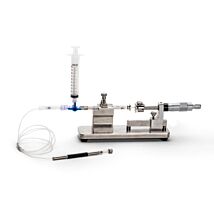
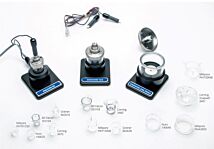
The manual microsyringe pump is a convenient tool for precise manual injection of fluid using glass pipettes or similar injection devices. The design allows visual feedback of flow at the pipette tip. They can also be used as a manual micro syringe pump for perfusion or withdrawal of liquids. The resolution of the injection volume can be continuously varied from 10 nanoliters to the microliter range, depending on the syringe used. Here we show you how to setup your system.
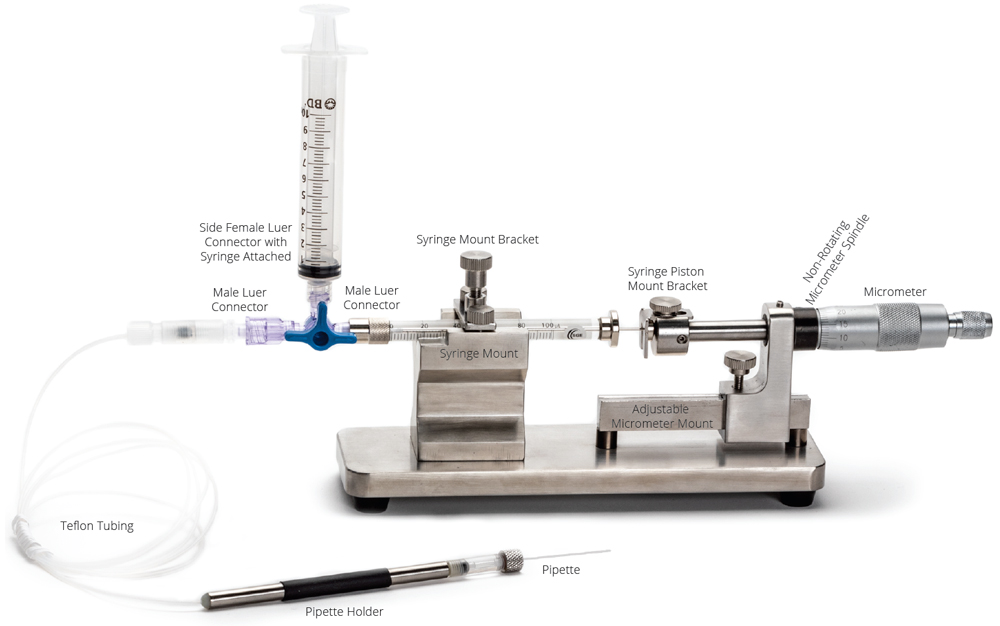
- Loosen the set screw on the Adjustable Micrometer Mount, but do not remove it.
- Tighten the thumb screw on the Ajdustable Micrometer Mount.
- Insert the digital micrometer or the manual micrometer through the hole on the Adjustable Micrometer Mount. Then, tighen the set screw.
- Loosen the set screw on the Syringe Piston Mount Bracket.
- Install the Bracket on the Spindle of the Micrometer. Tighten the set screw on the Bracket
- Loosen the Syringe Piston Mount Bracket thumb screw and the Syringe Mount Bracket thumb screws.
NOTE: The Syringe Mount Bracket has a rubber bumper on the bottom side to cushion the connection to the syringe. - Place the syringe into the Syringe Mount Bracket.
- Install the syringe plunger in the Syringe Piston Bracket. Tighten the thumb screw on the bracket.
- Loosen the Bumper thumb screw.
- Properly position the Syringe Mount Bracket and secure it with the two thumb screws.
- Tighten the Bumper thumb screw to secure the syringe.
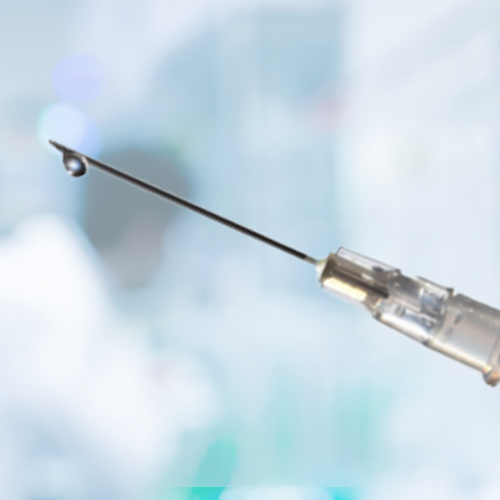
- Connect the 4-way stopcock (male Luer connector) to the syringe.
- Attach the Teflon tubing to the other side of the 4-way stopcock (male Luer connector).
- Install the 10cc syringe on the third port (side female Luer connector) of the 4-way stopcock.
Related Articles
-
WPI Products for Microinjection
 May 02
 -
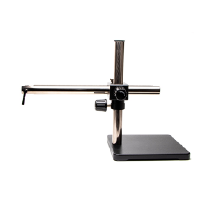
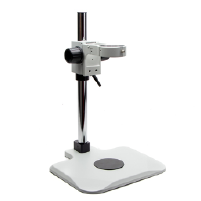
How To Setup A Microscope Articulating Arm Stand
 May 27
 -
VIDEO: Setting up the 3D SpectaSCOPE™ - Part 1
 Feb 23
 -
How To Setup A Microscope Heavy Boom Stand
 May 27
 -
Choosing the Correct Pump
 Jun 16
 -
How to Use NanoFil Syringe for RPE and IO Injections
 Feb 25
 -
What You Should Know About Choosing a Syringe Pump
 Aug 29
 -
WPI's Low-Noise Amplifiers Outperform Cheap Imitations
 Apr 30
 -
Safety Tips for Using Laboratory Syringes
 Aug 01
 -
VIDEO: How To Setup A Microscope Post Stand
 May 27
Related Products
- As low as $1,143.00
Recent Posts


Close