This website uses cookies to ensure you get the best experience on our website.
Read more

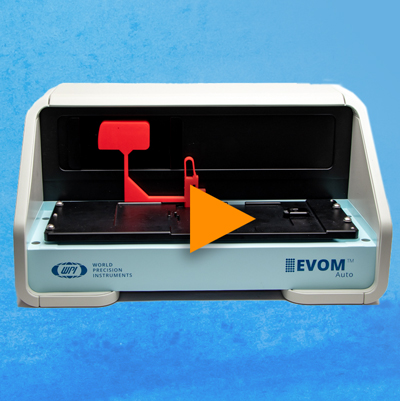
VIDEO: How to Take Resistance Measurements with EVOM™ Manual

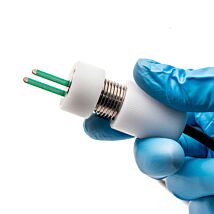
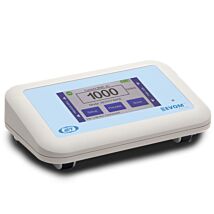
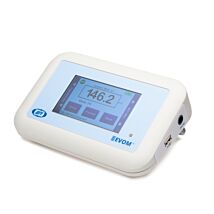
EVOM™ Manual is WPI’s newest instrument to measure Trans Epithelial Electrical Resistance (TEER). Let’s look at how to set it up and take resistance measurements.
-
Power on the EVOM™ Manual using the power switch on the rear panel.
-
Insert the USB flash drive provided with the system into the USB port on the side of the meter.
-
By default, the filename is plate1. You may choose a prefix that auto-indexes or a unique file name:
- Press and hold the Store button on the main screen for 2 seconds or press Store Screen on the Setup menu to configure your stored data files.
- To use a prefix and auto-indexing, activate the Auto Index radio button. Auto indexing sets the name to a numeric sequence with the name, a prefix and a sequential number (name_prefixN). Then, press Store Prefix to enter a file name. Or, to use a unique file name, deactivate the Auto Index radio button. Then, select File Name to enter a new name.
- Clear.
- Use the keypad to enter a new name.
- Press Enter.
-
Press Setup to access the Setup menu.
- Select Plate–Choose you plate size.
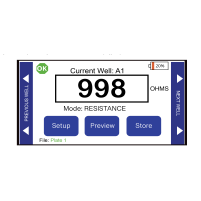
- Select Mode Units – Choose OHMS or KOHMS for taking resistance readings. Select the resistance range (auto or 10,000 ohms).
- Calibrate–You may press Calibrate to calibrate the meter, since the meter uses an internal resistance to adjust the internal measurement electronics.
- Blank Handling – The blank is the resistance value of a transwell with no cells, only media. Subtracting the value of the blank gives you the value of the resistance of your cell culture. To subtract a blank transwell (including the fluid and electrode resistances), place the electrode in a blank well and press Reading. Press the Blank Enable radio button to automatically subtract the blank value from your future readings.
- Press Return to navigate back to the main menu.
-
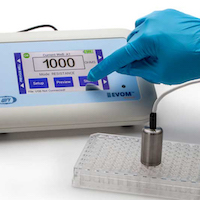
Begin measuring by pressing the foot switch. Or, touch the Store button on the screen and tap the Next Well area on the right side of the screen to advance to the next well. Repeat the sampling process.
-
Once the last well has been recorded, the file storing selection notification appears.
-
Press Store. The EVOM™ Manual should respond with “File saved” within 15 seconds. If “Saving file...” is still seen after 2 minutes, press the Cancel button and try a different USB drive. Once a file has been saved, open the file on a computer to verify the contents.
Once you get the system setup, taking measurements is easy.
If you have any questions, call us at (866) 606-1974 or email [email protected].
Related Articles
-
Understanding the EVOM™ Manual's Main Display Page
 May 31
 -
Common Applications for EVOM Manual
 Jul 19
 -
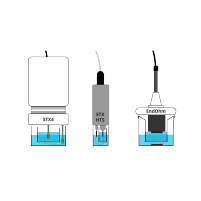
VIDEO: Which EVOM™ Electrode is Right for Your Application?
 May 24
 -
VIDEO: 9 Reasons to Trust the EVOM™ Manual TEER Measurement Meter
 Jul 12
 -
VIDEO: How to Take Voltage Measurements with the EVOM™ Manual
 Jul 13
 -
VIDEO: How to Create a Plate File on the EVOM™ Auto
 Apr 18
 -
VIDEO: Setting up the 3D SpectaSCOPE™ - Part 1
 Feb 23
 -
VIDEO: How to Download and Delete a Data File on the EVOM™ Auto
 Apr 13
 -
How to Pull Glass using the PUL-1000 Micropipette Puller
 Apr 27
 -
WPI's Low-Noise Amplifiers Outperform Cheap Imitations
 Apr 30
Related Products
- As low as $166.00
Recent Posts


Close