This website uses cookies to ensure you get the best experience on our website.
Read more

VIDEO: Digital Microforge: Setting up the Microforge Controller
January 17, 2022
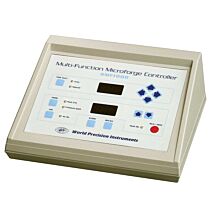
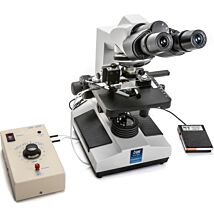
The DMF1000 is a microprocessor-controlled microforge designed for fabrication of both small patch clamp glass pipettes and larger injection pipettes. The DMF1000 can be used for polishing patch clamp pipettes, microforging holding pipettes, microforging beveled injection pipettes, and for calibrating pipette tips for microinjection. Here we will show you how to configure the DMF1000 controller.
- Power up the DMF1000 unit. Connect the cord to the power input jack.
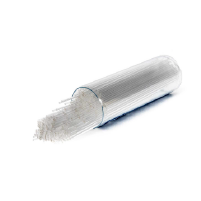
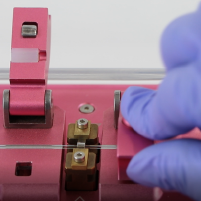
- Turn the power switch on. Then, plug the filament pins into the rear panel of the controller and plug the filaments into the sockets.
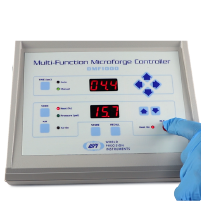
- After initialization, the setting that had been stored in memory location 0 displays. The Heat and Timer displays illuminate, indicating that the unit is powered up. The first time the unit is turned on, both readouts display 000. The TIME selection is set to Auto. The MODE selection is Heat. The Air On light is off, and the Heat On light is off.
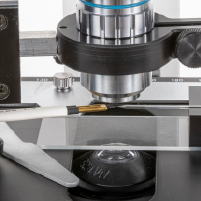
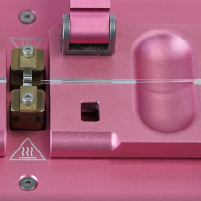
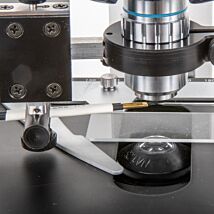
- For demonstration, I will hold the filament. Normally, it is mounted on the microscope.
- First, press the TIME button to set the unit in Manual mode. Pressing the RUN button sends current through the filament and turns on the Heat On lamp.
- Set the Heat readout by pressing the Increase (up arrow)/Decrease (down arrow) buttons from setting 0–99.9%, varying the amount of power applied to the filament. We recommend starting at 30%, but for demonstration here, I will set it higher. Always begin with the readout at the low end of the range and increase the heat only as necessary and by small increments. The lowest power and heat setting that can be used to accomplish a task should be used. Higher heat than necessary may shorten filament life, as well as increase the possibility of overheating the pipette tip.
- Press and HOLD the RUN button several times at various heat settings to see the expansion of the filament loop and determine approximately where the pipette should be positioned in relation to it. With a higher heat setting, the filament expands farther.
- You can set the time by using the arrow keys to move the decimal point.
- Use the right arrow to move the cursor off the screen. With the decimal point in this position, the timer can be set to a maximum of 360 seconds (6 minutes).
- Press the left arrow another time to move the decimal point further left and the maximum time for the counter is 9.99 seconds before returning to 0 and starting over.
- When the decimal is at the second position [00.0], the maximum time for the counter is 99.9 seconds (1.66 minutes) before returning to 0 and starting over.
- When you have the desired time, press the TIME button and it changes to Auto to set the controller at the desired heat and time settings.
- To check these settings with a micropipette, press the RUN button and the time will decrement to zero.
- To save the settings, press the STORE button. Use the arrow keys to select a location. Then press the MEM button to store it.
If you have any questions, call us at (866) 606-1974 or email [email protected].
Related Articles
-
VIDEO: Digital Microforge: Setting up the Microscope and Filament
 Jan 17
 -
Factors that Affect the Pulling of Micropipette Glass Capillaries
 Apr 21
 -
VIDEO: Setting up the 3D SpectaSCOPE™ - Part 1
 Feb 23
 -
Variety of Pre-pulled Micropipettes Available
 Apr 26
 -
WPI's Low-Noise Amplifiers Outperform Cheap Imitations
 Apr 30
 -
Metal Electrode Selection Guide for Profile C
 Apr 26
 -
Five Factors That Affect the Pulling of Glass Micropipettes
 Feb 22
 -
Get Familiar with Your New PUL-1000 Micropipette Puller
 Apr 09
 -
VIDEO: How to Set Up WPI's Animal Temperature Controller
 Apr 22
 -
Affordable New Injector: Configure the PV850 Software
 Sep 08
Related Products
-
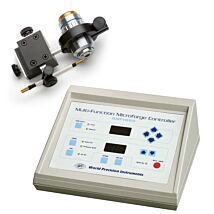
Microforge with Digital Controller
As low as $5,289.00As low as $3,979.00
Recent Posts


Close