This website uses cookies to ensure you get the best experience on our website.
Read more

VIDEO: How to Set up a Rat/Mouse Stereotaxic Frame
November 13, 2023
How to Set up a Rat/Mouse Steretoaxic Frame
By Brittany Crafton
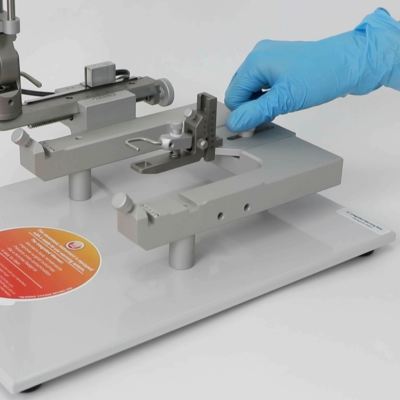
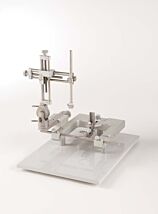
Let’s take a look at how to set up a Digital Rat/Mouse, Neonatal Rat Stereotaxic frame. In a few steps you will be up and running.
- First, plug in the power cable to the digital display.
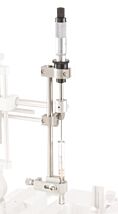
- Next, take your manipulator and make sure the fastening screw closest to the base is loosened. Place it on the anterior-posterior knob fitting.
NOTE: Make sure the manipulator is fully seated, and secure with the vertical screw aligned, according to the scale at the base of the manipulator. - Take the cables attached to your anterior-posterior, dorsal-ventral, and medial-lateral axes and plug them into the corresponding ports on the digital display.
Your stereotaxic manipulators are now integrated with your digital display.
NOTE: Be sure all coordinates on your digital display are zeroed prior to surgeries to ensure accuracy in your starting position.
Surgical Applications Using a Rat
- For surgical applications using a rat, attach the metal ear bars. Do not overtighten them, as these will require adjusting to situate the animal properly. Only fully tighten them once the animal is in position.
- Attach the rat anesthesia mask onto the nosecone clamp, and make sure it is fitted securely using the fastening screw.
- Connect your anesthesia system of choice to the connection port seated at the back of the mask block.
Surgical Applications Using a Mouse
- Alternatively, for use with a mouse, you must attach the warming base to the u-frame. To do so, loosen the screw located in the center of the u-frame.
- Place the warming base accordingly, with the base centered. Fasten the screw on the u-frame to secure the mouse warming plate.
- Be sure to adjust the warming plate footing to be in contact with the stereotaxic base. To do so, turn the pegs counterclockwise. Make sure the base is level once you complete this step.
- Next, take the mouse ear bars and secure them in the corresponding brackets.
- Then, secure the mouse anesthesia mask with the integrated adaptor to the base accordingly.
- Connect your anesthesia line to the back of the mask block.
- The manipulators should come with the probe holder already attached. If you need to remove it, loosen the screw and it set aside.
Your digital Rat/Mouse and Neonatal Rat frame is now ready to use! If you have an questions, just give us a call at (866) 606-1974 or email us at [email protected].
Related Articles
-
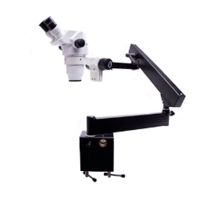
APP NOTE: Using a Microscope with a Stereotaxic Frame
 Apr 30
 -
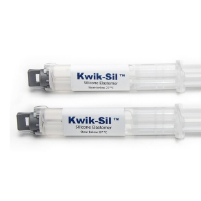
VIDEO: Reasons KWIK-SIL Adhesive is Ideal for Neuroscience Applications
 Jun 15
 -
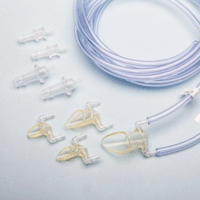
Rodent Facemask Kits for Isoflurane Anesthesia
 Jul 14
 -
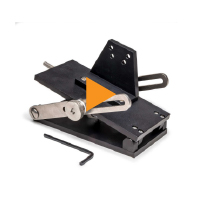
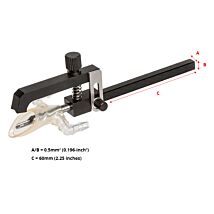
How to Mount an M3301 Micromanipulator on a Tilt Base
 Feb 11
 -
How To Setup A Microscope Heavy Boom Stand
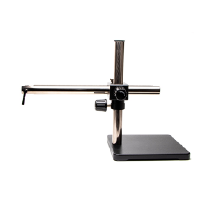 May 27
 -
How to Adjust for Mechanical Drift in an M3301 Manual Micromanipulator
 Feb 12
 -
VIDEO: How to Setup the WPI Manual Microsyringe Pump
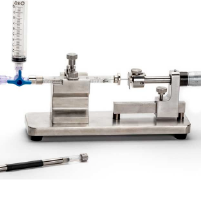 Sep 27
 -
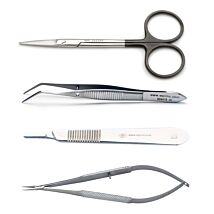
How Do I Select Appropriate Surgical Instruments for My Application?
 Mar 13
 -
How To Setup A Microscope Articulating Arm Stand
 May 27
 -
Surgical Loupes Defining Differences
 May 01
Related Products
-
Manual Rat Standard Stereotaxic Instruments
As low as $3,595.00

Recent Posts


Close