This website uses cookies to ensure you get the best experience on our website.
Read more

Using the 900A Micropressure System for Measuring Pressure in Small Blood Vessels and Cells
July 16, 2018
 This 900A video series of 6 videos is designed to help familiarize you with the basic operation of the 900A Micropressure System. The 900A was designed for measuring pressures in kidney tubules, and it has many applications. It has recently been used for measuring ventricular blood pressure in larval fish. We suggest that you become familiar with the information in the instruction manual and the parts and techniques you need to operate the system effectively. Please read the manual and watch these videos prior to setting up and testing your 900A Micropressure System.
Instrument Description
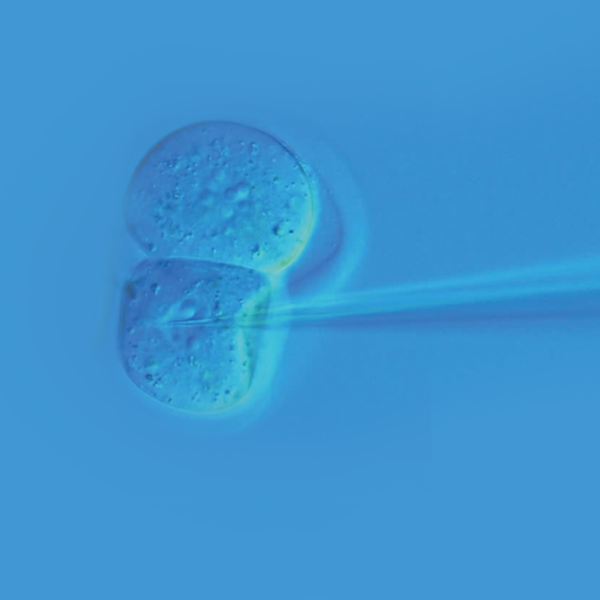
- The 900A Micropressure System is designed to measure pressures from –200 to +400 mmHg in small blood vessels, cells and other electrolyte-filled micro-cavities.
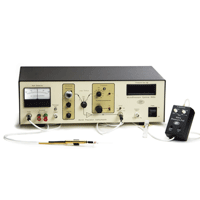
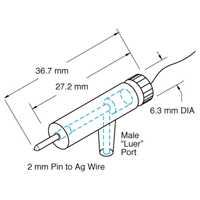
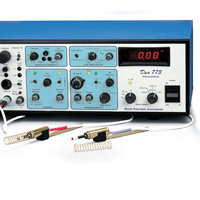
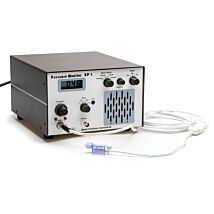
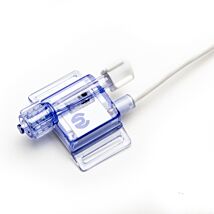
- The main components are the 900A include the Control Unit, the Pressure Pod and a Probe that connects to a glass microelectrode.
- The 900A utilizes an ion gradient at the tip of the microelectrode to set a null value of resistance in a circuit that spans across the probe through the measurement location and back through the 900A Control Unit.
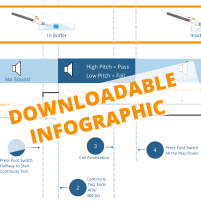
- Alterations, or feedback, in this circuit are caused by changes of pressure at the tip of the microelectrode. An increase of pressure will cause the fluid within the tip of the microelectrode to shift, changing the ionic concentration, thus the conductivity of the circuit. To set the circuit back to equilibrium, the 900A utilizes a piezoelectric gas valve to regulate vacuum and pressurized air to maintain the circuit at the set null value.
- The amount of pressure needed to maintain the equilibrium of the circuit is directly proportional to the pressure at the tip of the microelectrode, and is displayed on the 900A front panel.
Cautions
- Get to know the controls on the 900A Control Unit first, by noting the different knobs, ports and switches on the front panel.
- Follow the 900A manual to familiarize yourself with the additional parts and supplies needed to operate the 900A.
Getting Started
- Be sure to set up your gas and vacuum lines, and setup your gas and vacuum supply as stated in the manual.
- Be sure that your supply lines deliver stable sources of gas and vacuum that do not fluctuate. If needed, set up a secondary “stepdown” valve, and be sure to use a calibrated manometer to ensure the pressure and vacuum are appropriate.
- Have several microelectrodes on hand, and prepare two salt solutions – one for filling the microelectrode and one for the electrolyte bath.
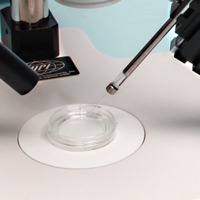
- A sturdy container such as a petri dish will be important to have on hand for a measurement site, but we will first use the CAL900A Calibration Chamber as a testing site to calibrate the instrument.
#1 - Setting Up the 900A
#2 - Setting Up the Measurement Site
#3 - Preparing Your Micropipette
#4 - More Preparations
#5 - Calibration
#6 - Making Measurements
Related Articles
-
Micropipette Holders and Half Cells
 Apr 25
 -
A Visual Catalog of Electrode Holders
 Apr 24
 -
900A Micropressure System from WPI
 May 01
 -
Exploring the Intracellular World
 Apr 24
 -
MICRO-ePUMP Injection Sequence Explained
 Feb 04
 -
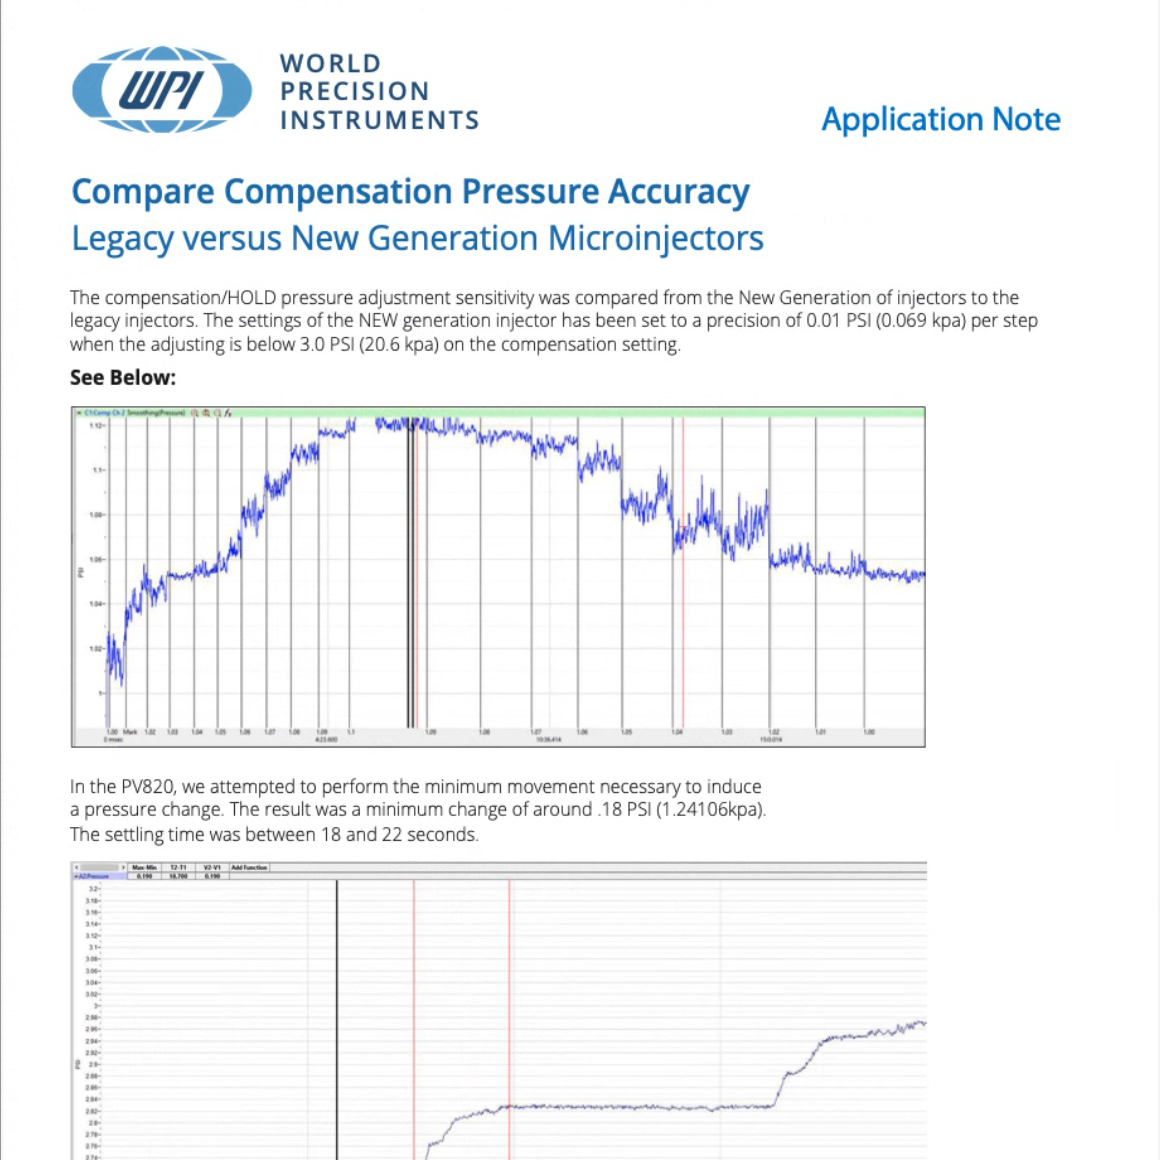
APP NOTE: Compare Compensation Pressure Accuracy
 Jun 30
 -
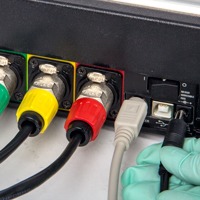
Choosing Cables and Connectors
 Apr 25
 -
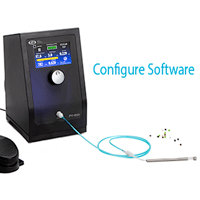
Affordable New Injector: Configure the PV850 Software
 Sep 08
 -
Choosing a Pump for your Fluid Handling Application
 Oct 04
 -
The Importance of Blood-Brain Barrier Models and Measurement: A Focus on TEER
 Feb 02
Related Products
Recent Posts


Close