This website uses cookies to ensure you get the best experience on our website.
Read more

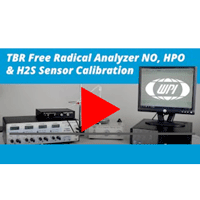
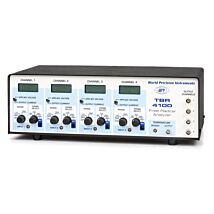
Sensor Calibration for WPI's TBR4100 Free Radical Analyzer (NO, HPO & H2S)
June 09, 2020
[by Nikki Scafa]
When using a TBR Free Radical Analyzer, accurate measurements of an analyte requires an accurate calibration. The calibration of nitric oxide, hydrogen peroxide and hydrogen sulfide sensors is similar. WPI oxygen and glucose sensors require different methods which will not be discussed here.
Before we begin:
- Make sure you have the following items.
- Your sensor must be polarized for the appropriate length of time.
- Your solutions are prepared as described in the manual. (NOTE: Here we will show an item checklist slide (below) before continuing the video.)
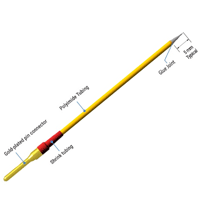
| SENSORS | SIZE | SOLUTION | STANDARD | Polarization Time | |
| Nitric Oxide | ISO-NOP | 2 mm | 0.1 M KI/ H2SO4 | 50 µM KNO2 | 12 hours |
| ISO-NOP007 | 7 mm | 0.1 M CuCl2 | 100 µM SNAP | ≥2 hours | |
| ISO-NOP3005 | 30 mm | hour | |||
| ISO-NOP3020 | 30 mm | 1 hour | |||
| ISO-NOPF200 | 200 mm | 8+ hours | |||
| ISO-NOPF100 | 100 mm | 8+ hour | |||
| ISO-NOPNM | 30 mm | 1 hour | |||
| Hydrogen Peroxide | ISO-HPO-2 | 2 mm | 0.1 M PBS | 1 mM H2O2 | 4+ hours |
| ISO-HPO-100 | 100 mm | ≥1 hours | |||
| Hydrogen Sulfide | ISO-H2S-2 | 2 mm | 0.1 M PBS | 1 mM H2S | 12+ hours |
| ISO-H2S-100 | 100 mm | 4+ hours |
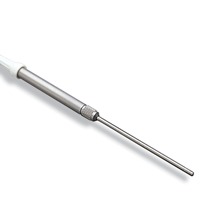
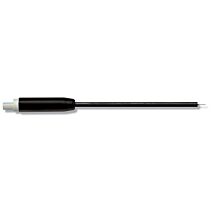
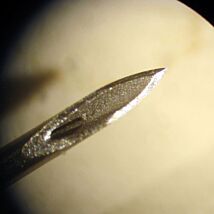
This demonstration shows methods used at the WPI lab. We are using an ISO-HPO-100 hydrogen peroxide sensor.
- After the sensor has polarized, use a pipetter to inject an aliquot of the calibration solution. We started with 2 µL of 1 mM hydrogen peroxide. Then, allow 30 seconds while the LabTrax records the data. The data trace plateaus.
- Then, inject twice the volume of the first aliquot and allow another 30 seconds until you see the data trace plateau again.
- Continue doubling the injection volume for another three injections, allowing 30 seconds to pass between injections.
- When you are finished, you should a data trace with 5 distinct plateaus.
- Using the LabTrax software, Determine the distance between the baseline reading and the plateau reading for each aliquot. That is the distance between the two red lines, and the delta is shown in the upper right corner of the screen. Using these figures, create a calibration curve and determine the R2 value.
- After performing this calibration, the sensor is ready for use.
Call us today to discuss your application.
(866)606-1974 toll-free in the USA
Related Articles
-
How to Calibrate an ISO-HPO100
 Apr 24
 -
How to Fill a 2 mm Sensor Sleeve with Filling Solution
Apr 24
-
Metal Electrode Selection Guide for Profile C
 Apr 26
 -
Surgical Loupes Defining Differences
 May 01
 -
Biosensor Specifications
 Apr 29
 -
Metal Electrode Selection Guide for Profile A
 Apr 26
 -
Vibration Free Workstation/Platforms Defined
 May 01
 -
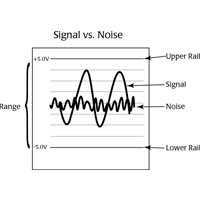
WPI's Low-Noise Amplifiers Outperform Cheap Imitations
 Apr 30
 -
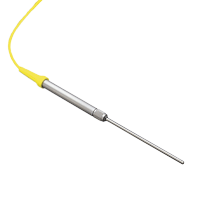
Choosing a Temperature Probe
 Apr 30
 -
Benefits of Nitric Oxide Detection using the WPI Free Radical Analyzer
 Feb 25
Related Products
-
Hydrogen Peroxide Microsensors
As low as $1,525.00

Recent Posts


Close