This website uses cookies to ensure you get the best experience on our website.
Read more

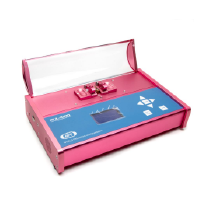
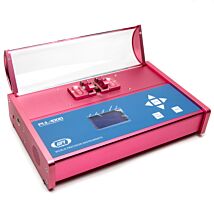
Getting Started with your PUL-1000 Micropipette Puller
April 23, 2021
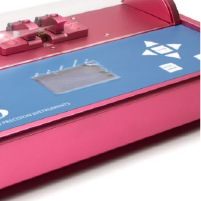
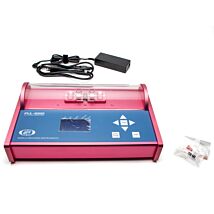
The PUL-1000 is a microprocessor controlled, four-stage, horizontal puller for making glass micropipettes or microelectrodes. Here is a quick overview to get you started quickly.
Quick Start Setup
- Plug the power cord into the wall outlet. An LED light on the power supply illuminated when the unit is connected to power.
- Plug the power cord into the rear panel of the PUL-1000. Then, the power switch on the side panel illuminates.
- Press the Power button to turn on the display.
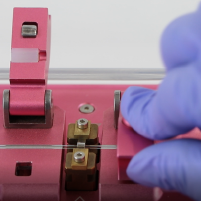
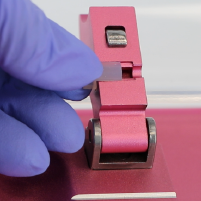
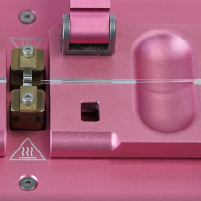
- To open the glass capillary clamps, place your thumb under the clamp and depress the release button with your index finger. This allows the carriages to move freely.
- Push the carriages together toward the center.
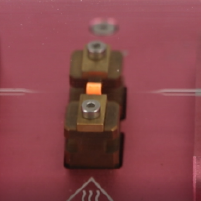
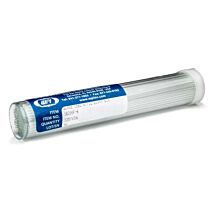
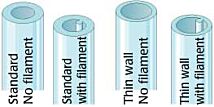
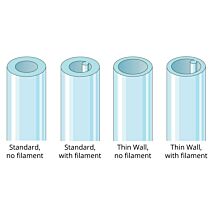
- Install the silicone glass capillary clamp pads matching the outer diameter (OD) of the glass capillary, by sliding them into the clamp pad spots on the clamps.
- Mount the glass capillary onto the carriage and secure it with the glass clamps.
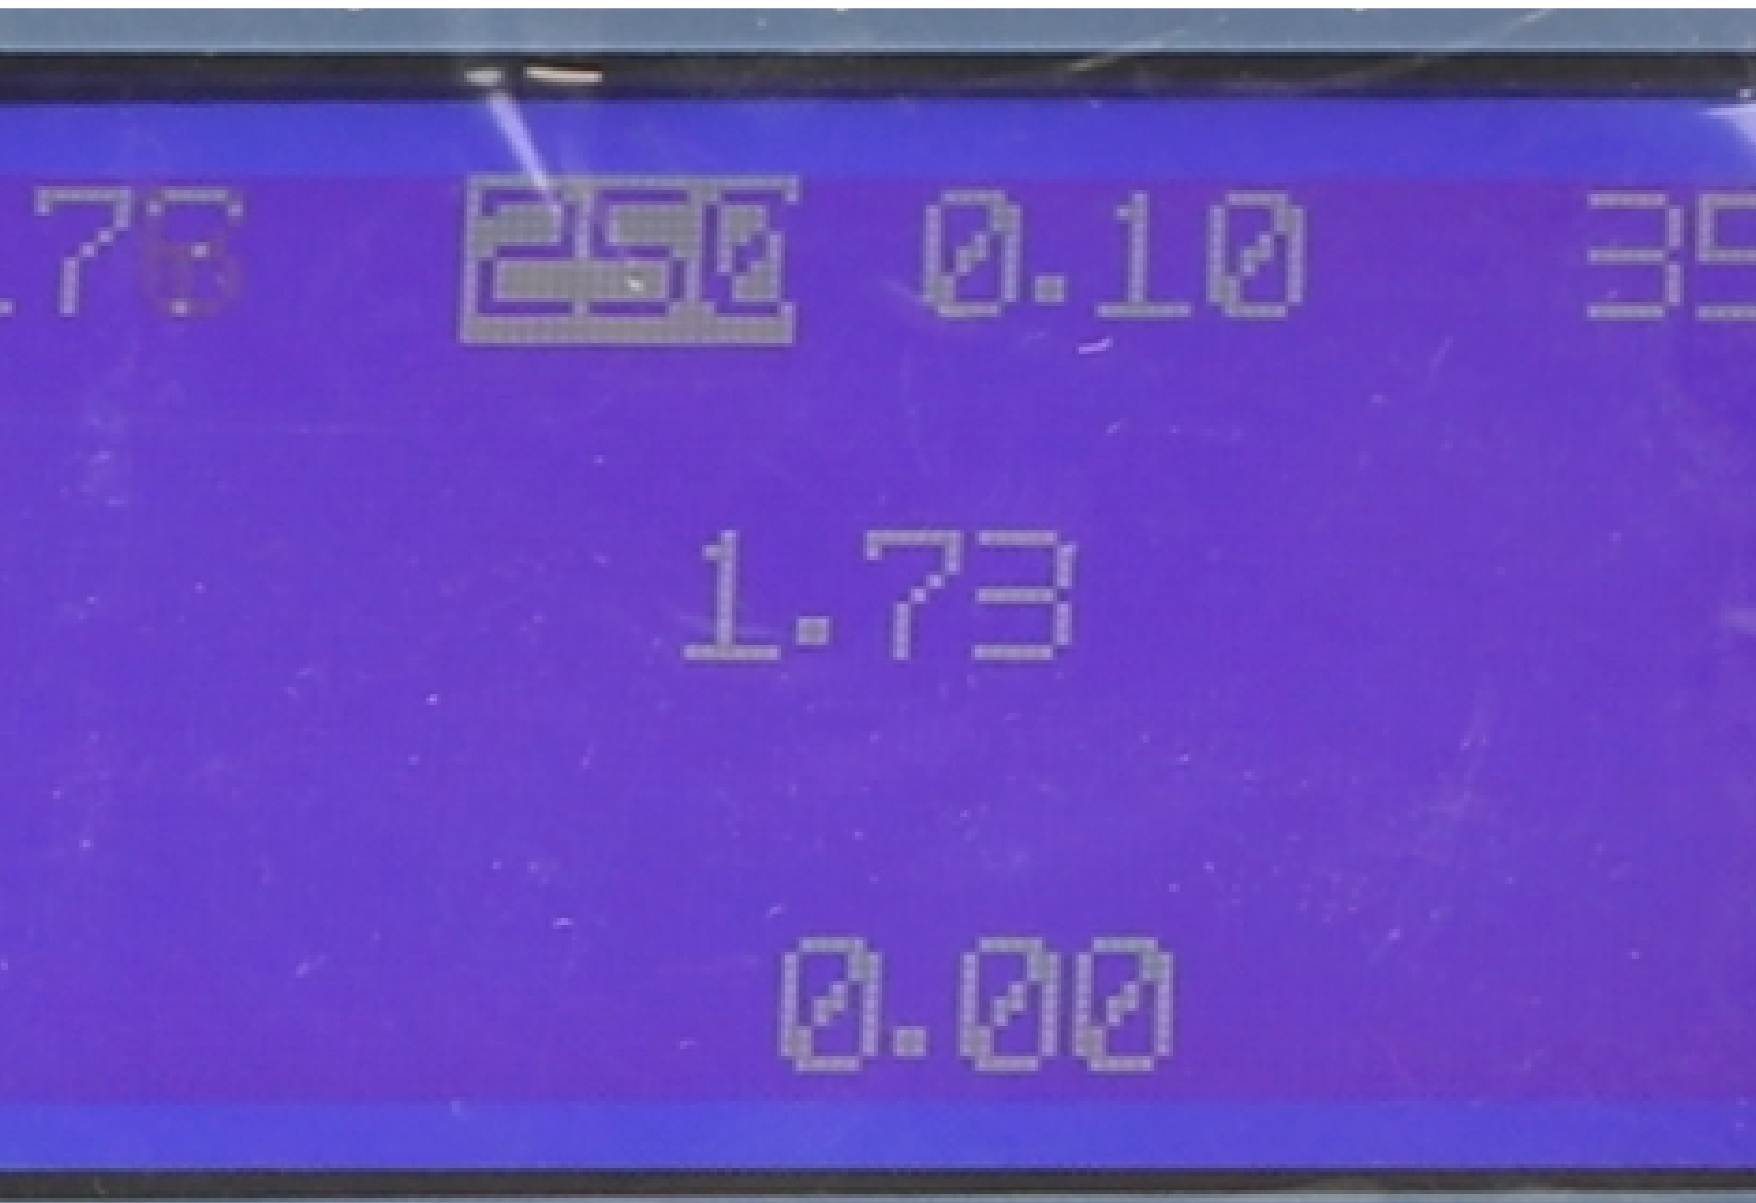
- On the LCD display, choose the correct sequence. If you do not have a sequence yet, choose one from the program storage.
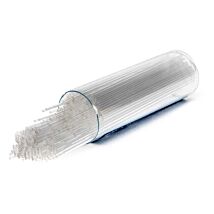
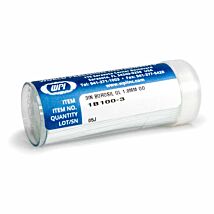
NOTE: Program sequence 00 is designed for OD 1.0 mm borosilicate capillary glass (WPI# 1B100-4). Refer to the PUL-1000 Cookbook containing the installed program sequence.
- Close the cover.
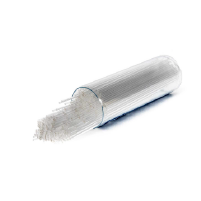
- Press START, and the puller will do the rest. Each pull results in two identical micropipettes. Refer to the PUL-1000 Cookbook for details about the factory installed programs.
If you have any questions, just give us a call.
Related Articles
-
How to Load Capillary Glass in a PUL-1000 Micropipette Puller
 Apr 22
 -
How to Pull Glass using the PUL-1000 Micropipette Puller
 Apr 27
 -
Resolving Common Issues with the PUL-1000 Puller
 Apr 22
 -
How to Run a Glass Softening Test on the PUL-1000 Puller
 Apr 22
 -
Get Familiar with Your New PUL-1000 Micropipette Puller
 Apr 09
 -
Why Buy a PUL-1000 Research Puller for Making Micropipettes?
 Feb 25
 -
Factors that Affect the Pulling of Micropipette Glass Capillaries
 Apr 21
 -
INFOGRAPHIC: How to Choose a Puller
 Feb 19
 -
Using WPI's PUL-1000 Micropipette Puller
 Mar 06
 -
Microforges, Pullers, Bevelers Application Guide
 May 01
Related Products
-
Standard Glass Capillaries, 2mm OD
As low as $86.00As low as $77.00As low as $70.00
Recent Posts


Close